Get started with LinkDrip
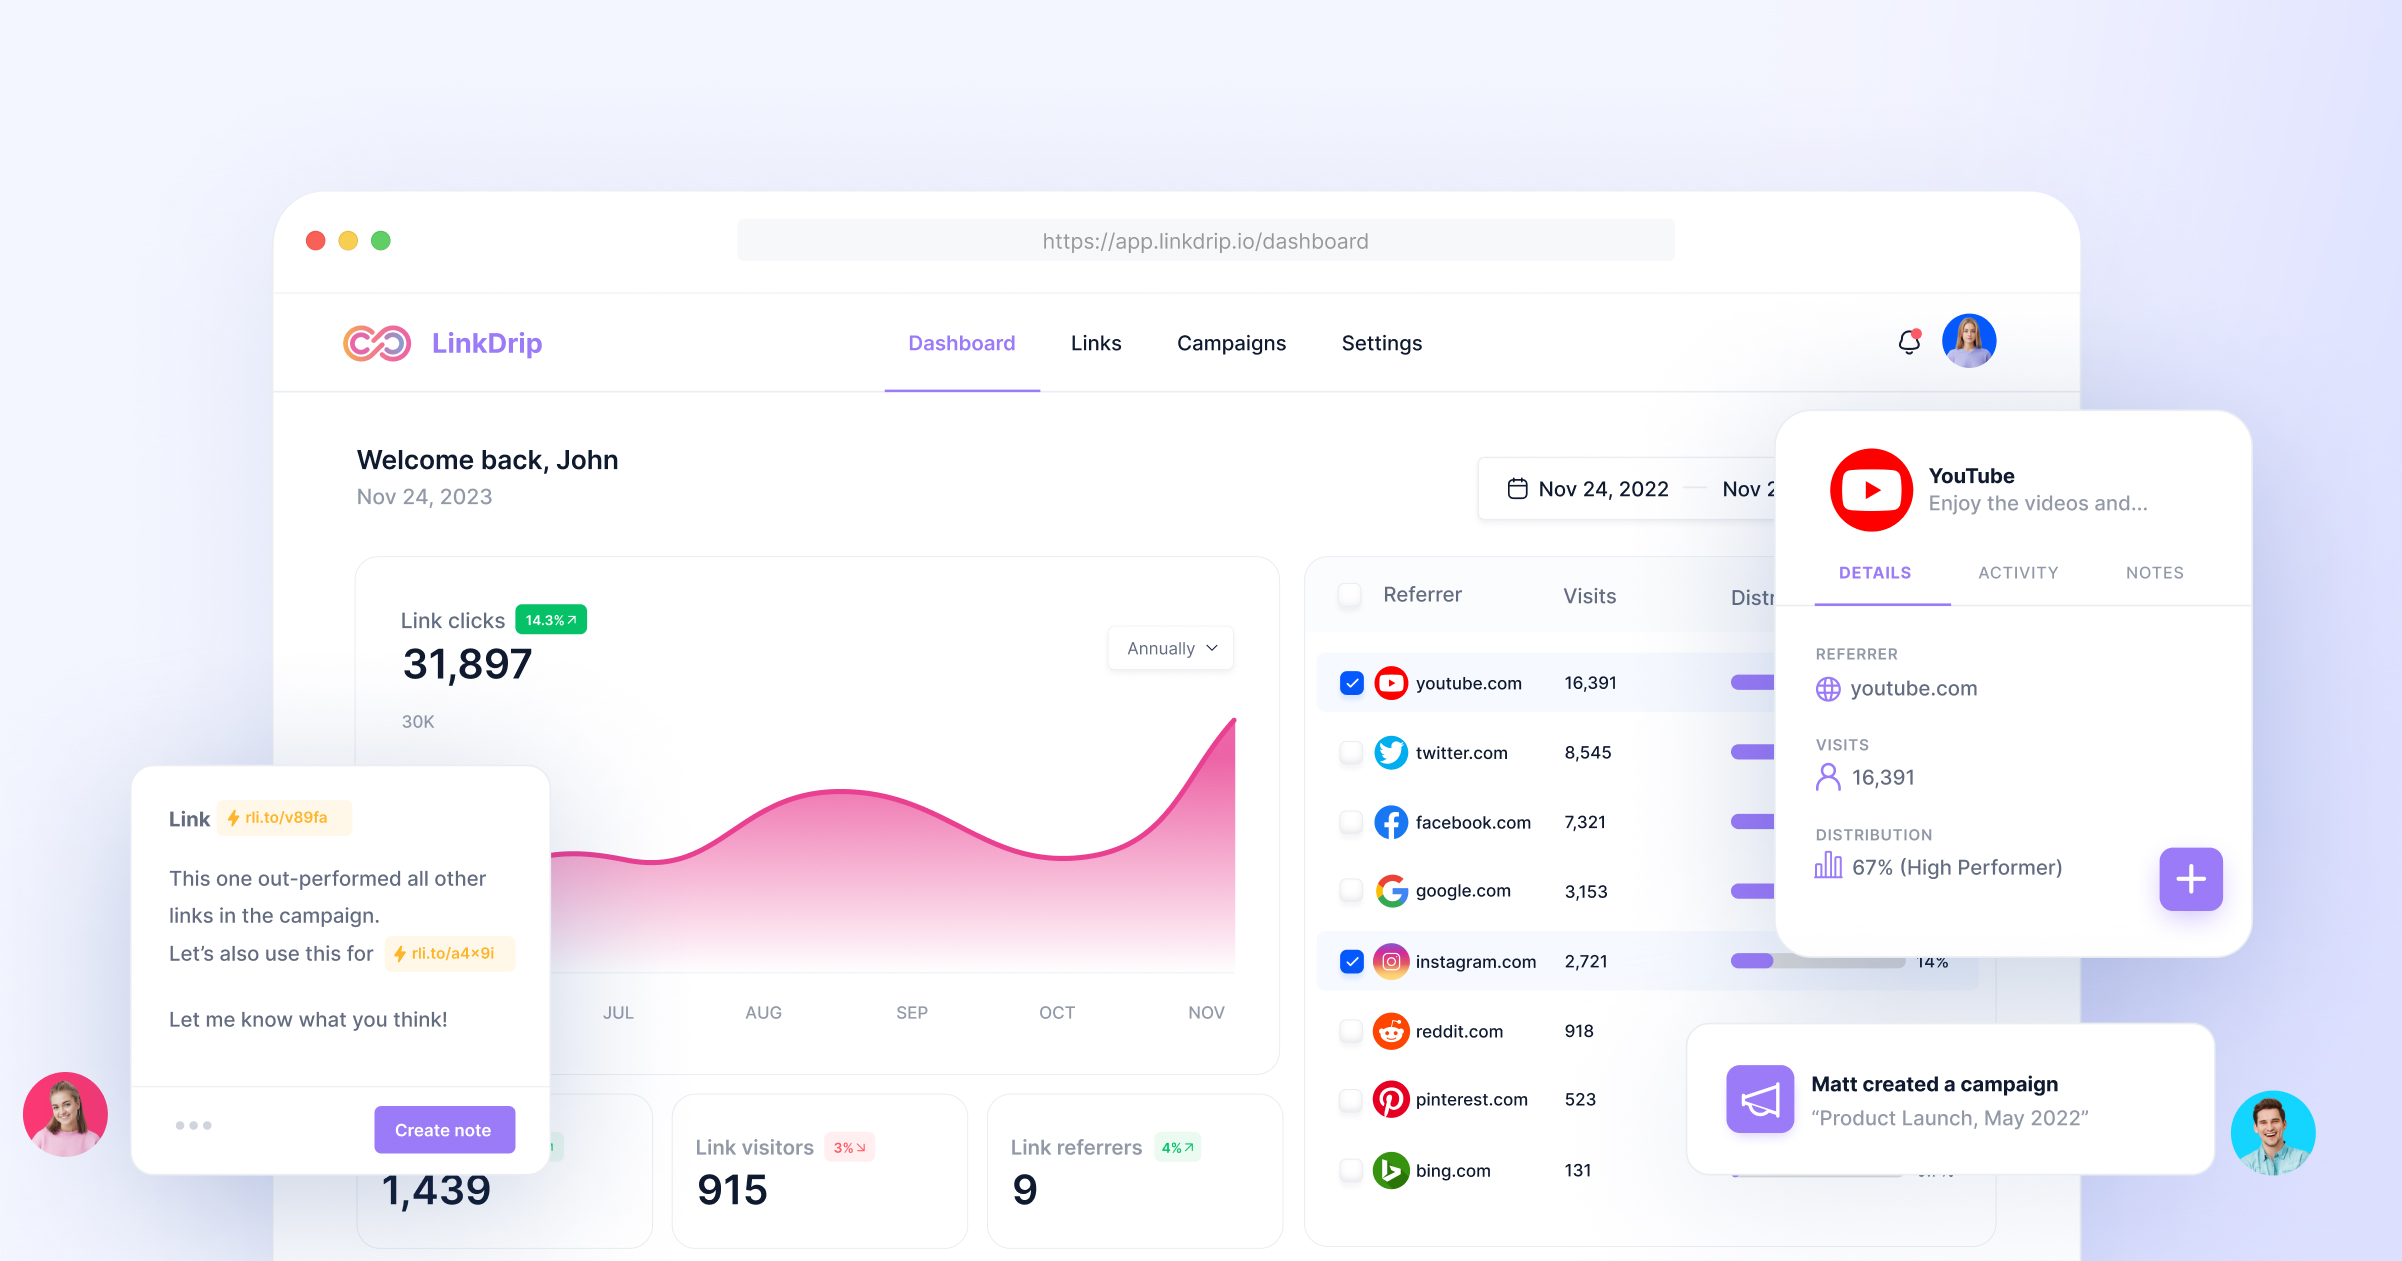
In this article, we'll go through the basics of LinkDrip and how to get started with your first drip campaign. It's a quick read, so you can get started playing around with LinkDrip in no time.
Welcome here, Early Adopter 👋
You're here, because you signed up for LinkDrip's Early Access Deal!
We're
super happy to have you with us - in this article, we'll go through the very
basics of how to get started with LinkDrip.
How does a shortened link work?
With LinkDrip, you can take a long link (aka destination URL) like
this one:
https://youtu.be/06VUyvmHuoc
And shorten it to a link like this one:
https://drp.li/Duwir
When you create a link with LinkDrip, clicks on it are redirected from LinkDrip to the destination URL you started with.
How do I create links?
To create a link, simply click the "Create Link" button on the left side menu.
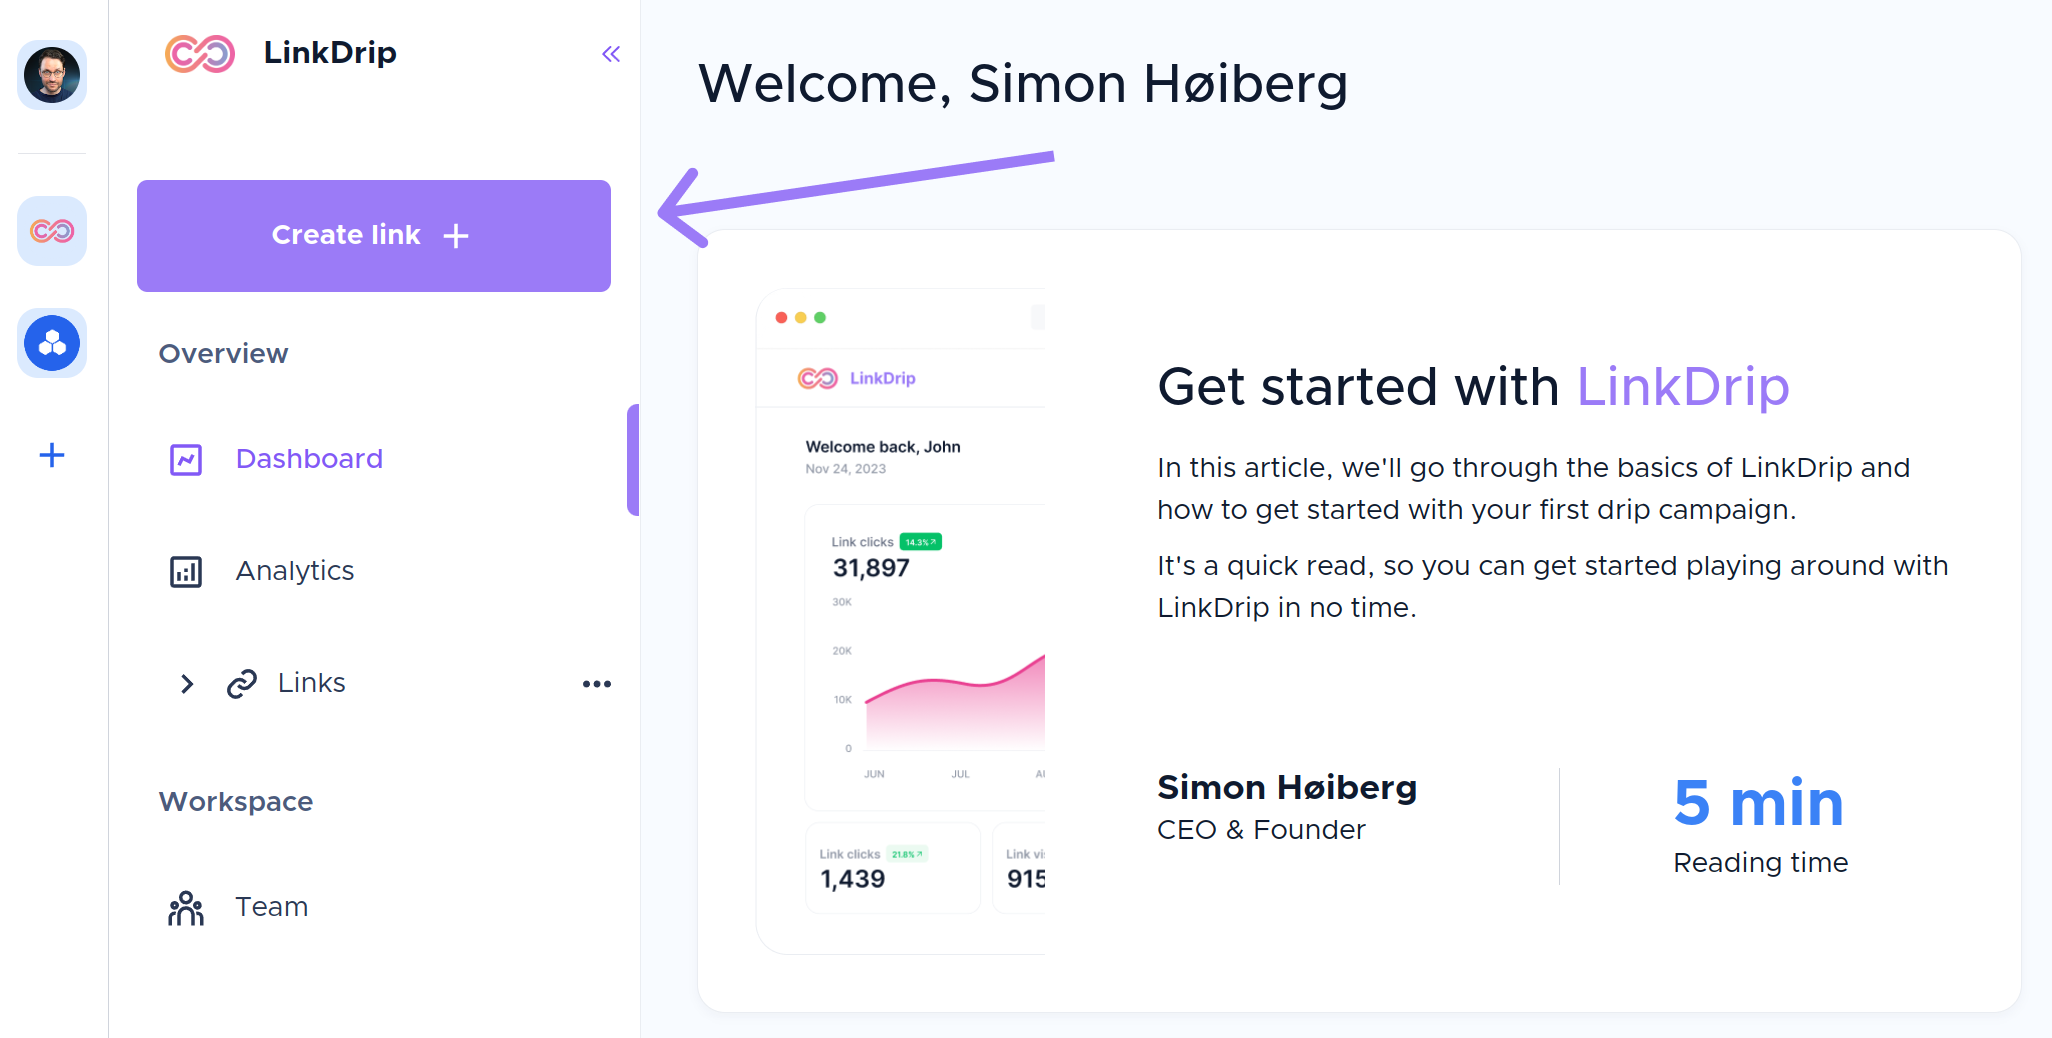
This will take you to the "Create new link" window where you can add information such as the destination, metadata, and UTM tags.
You can also preview how your link will look in the panel on the right side.
Once
you finished setting up your link, click on "Create".

Now you can copy and use your new shortened link.

When you create an account, your new links will be automatically added to a
default project.
You can create a new project by going to the "Links" page,
click the "Projects" navigation bar on the top and choose "New project"

You can also create your folders for your projects for better organization.
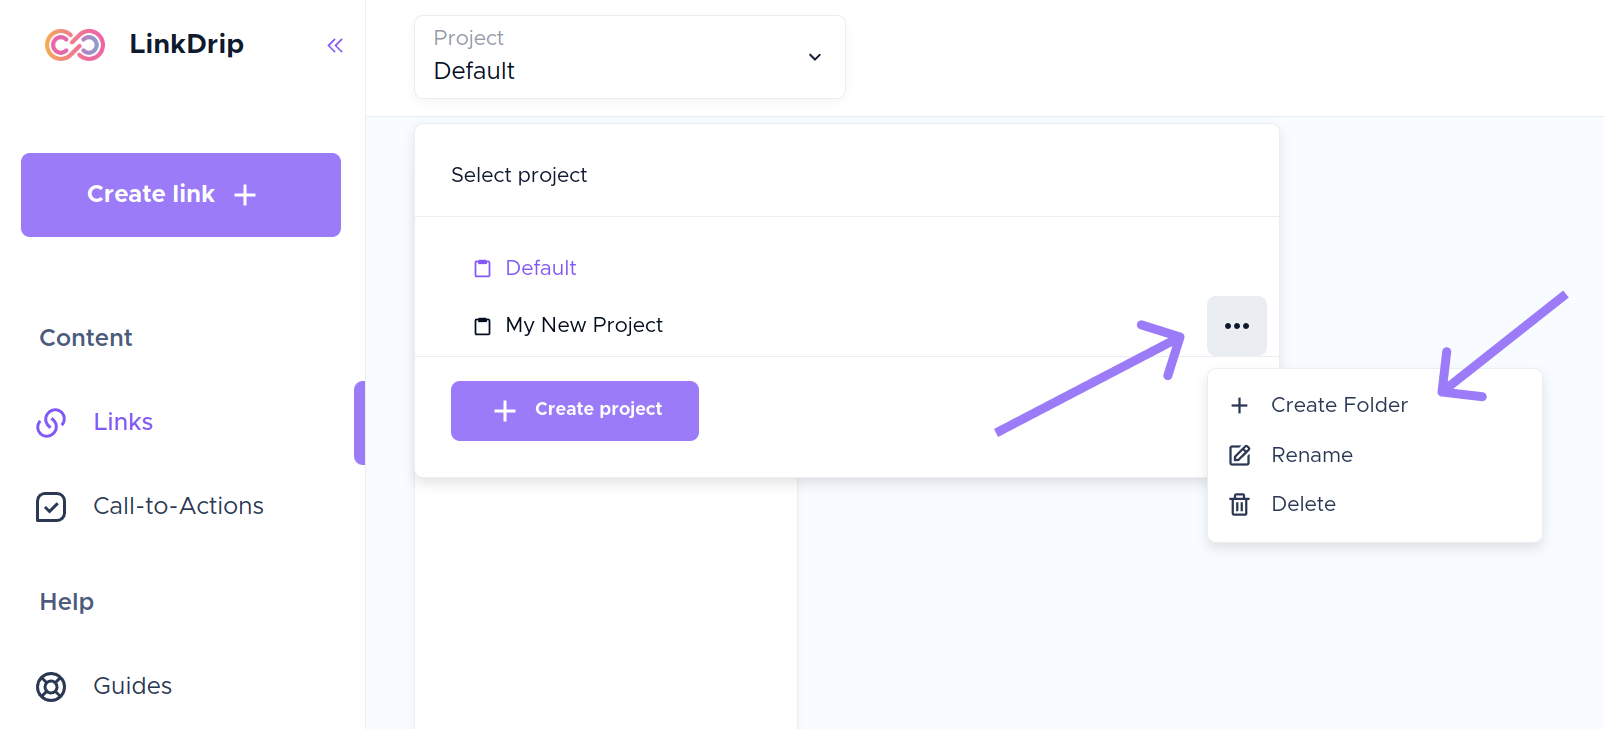
⭐ Pro tip: You can also reorder projects and folders, and you can move folders from one project to another by using drag-and-drop.
If you click on a project or folder that you created, it will show you a performance overview for all links in that project.
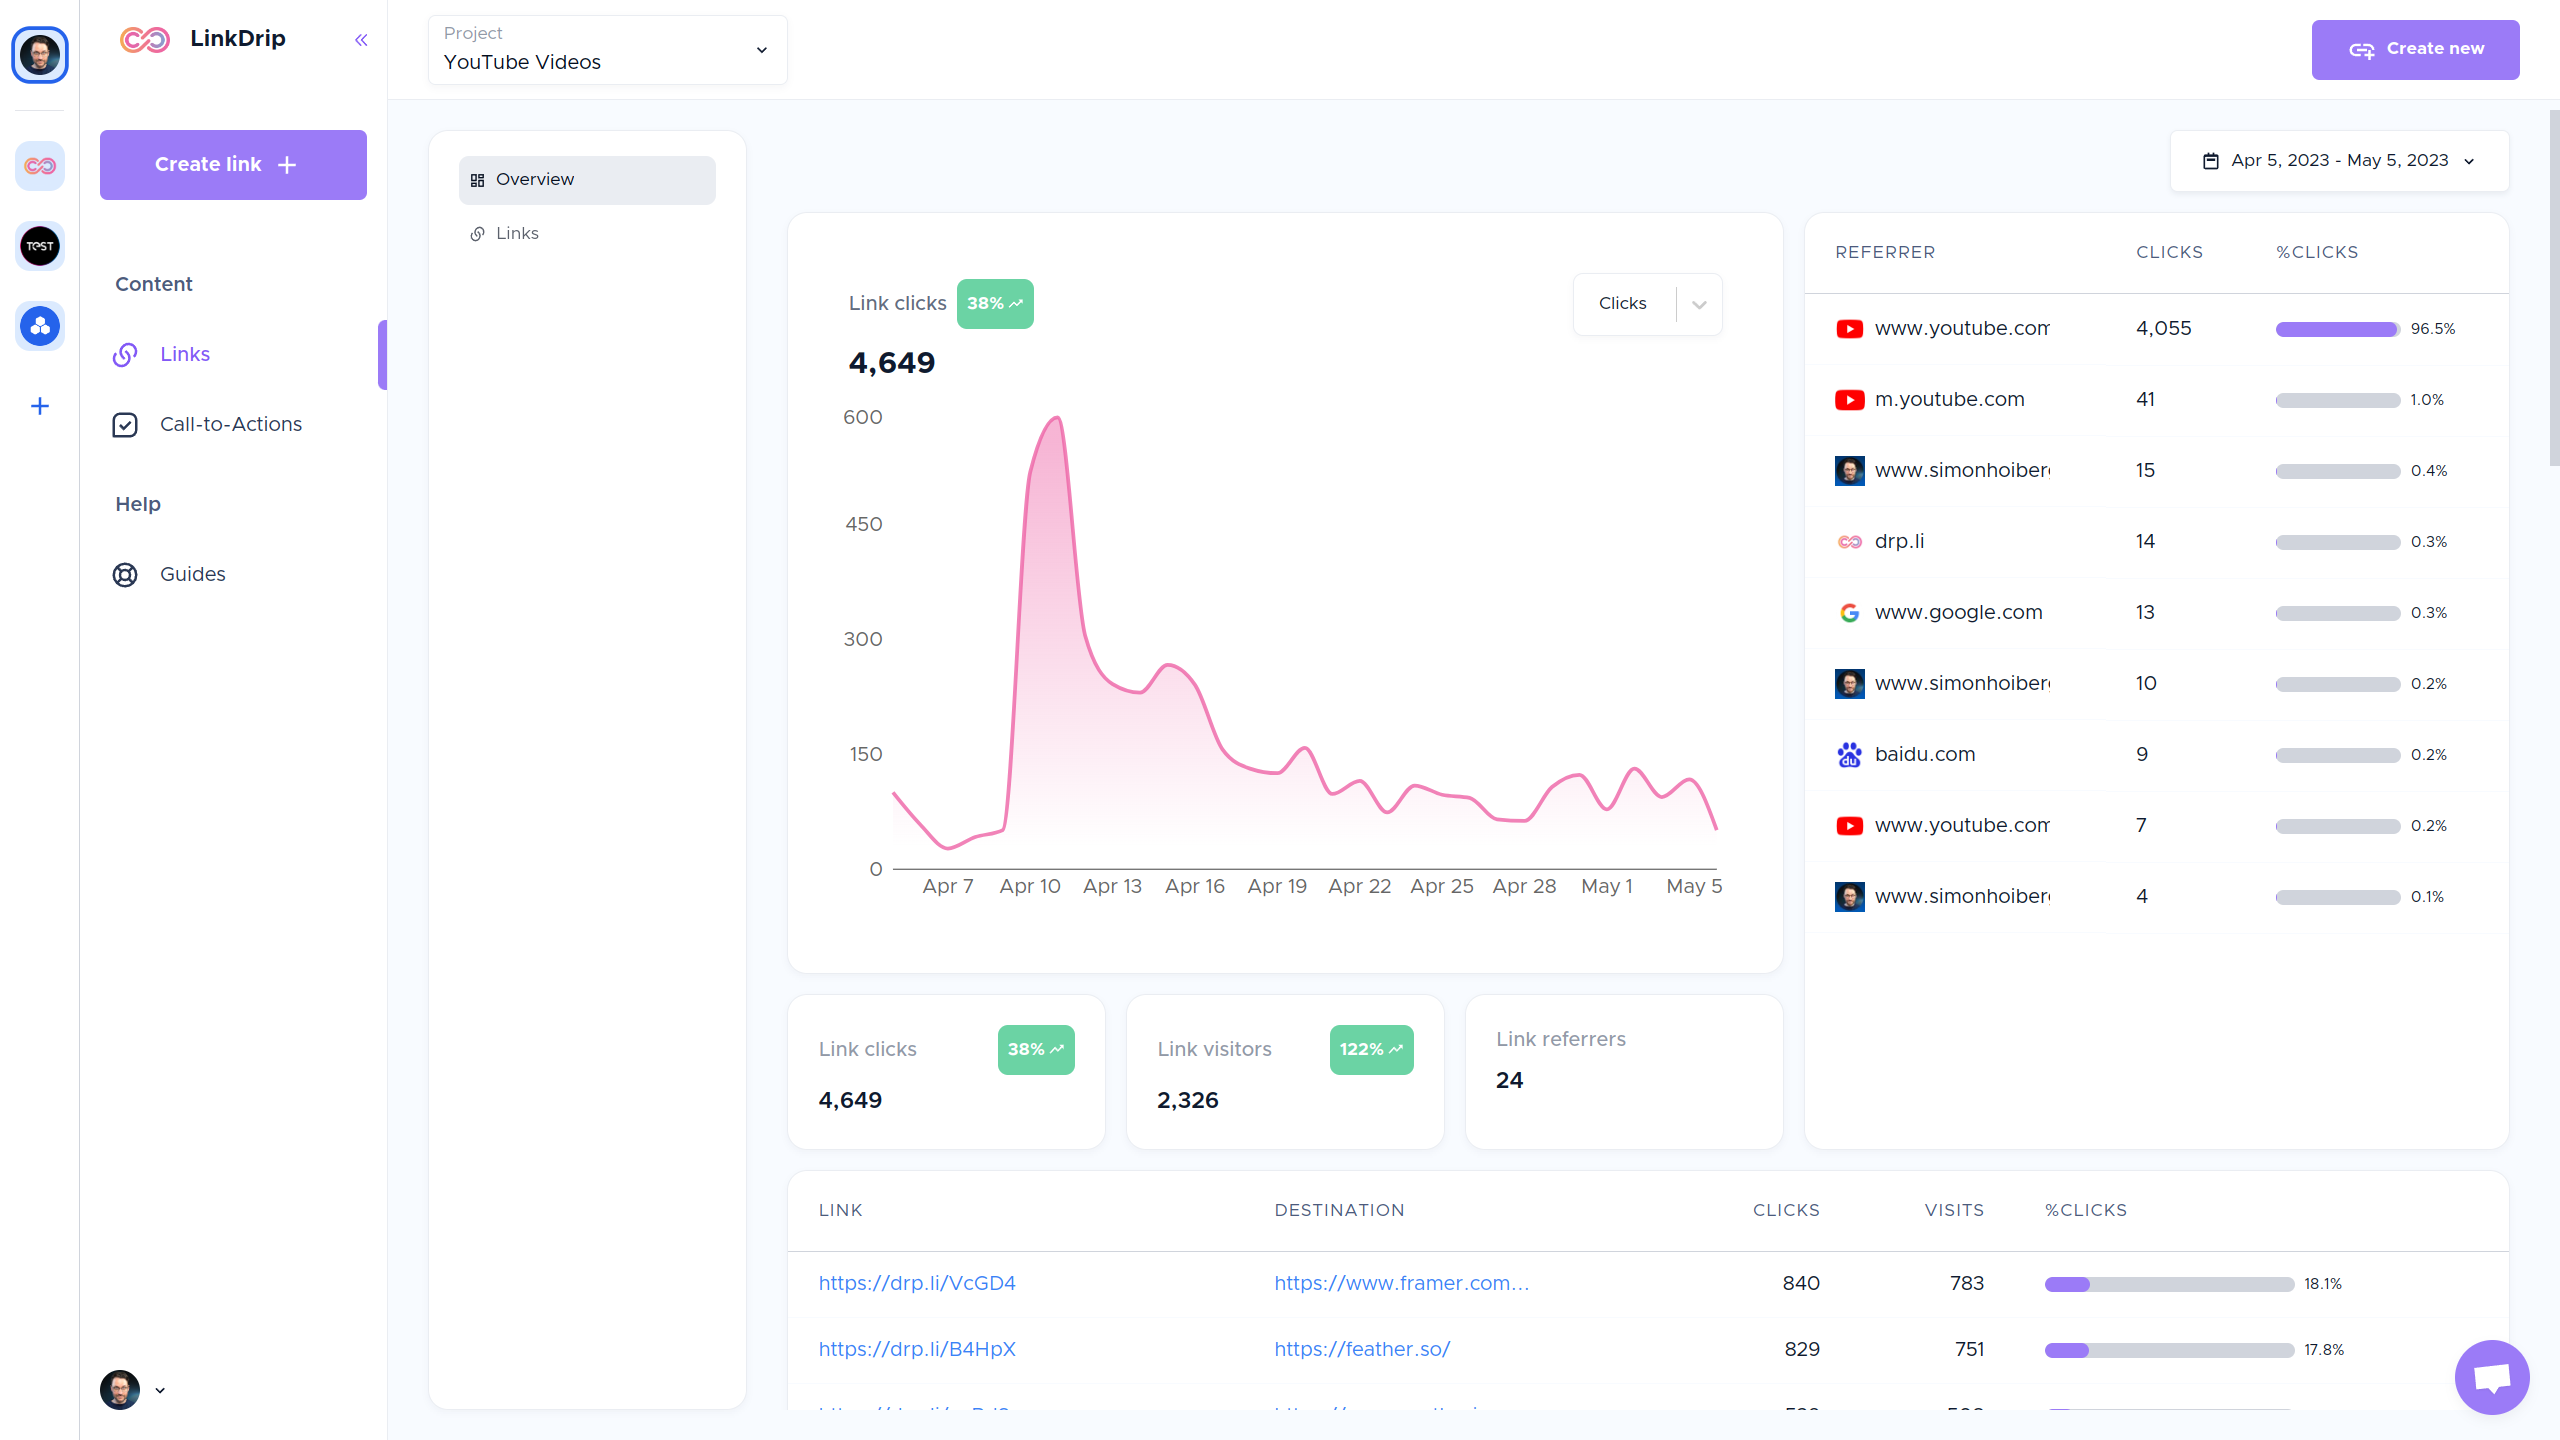
If you click "Links" in the submenu, you will see all the links in this project.
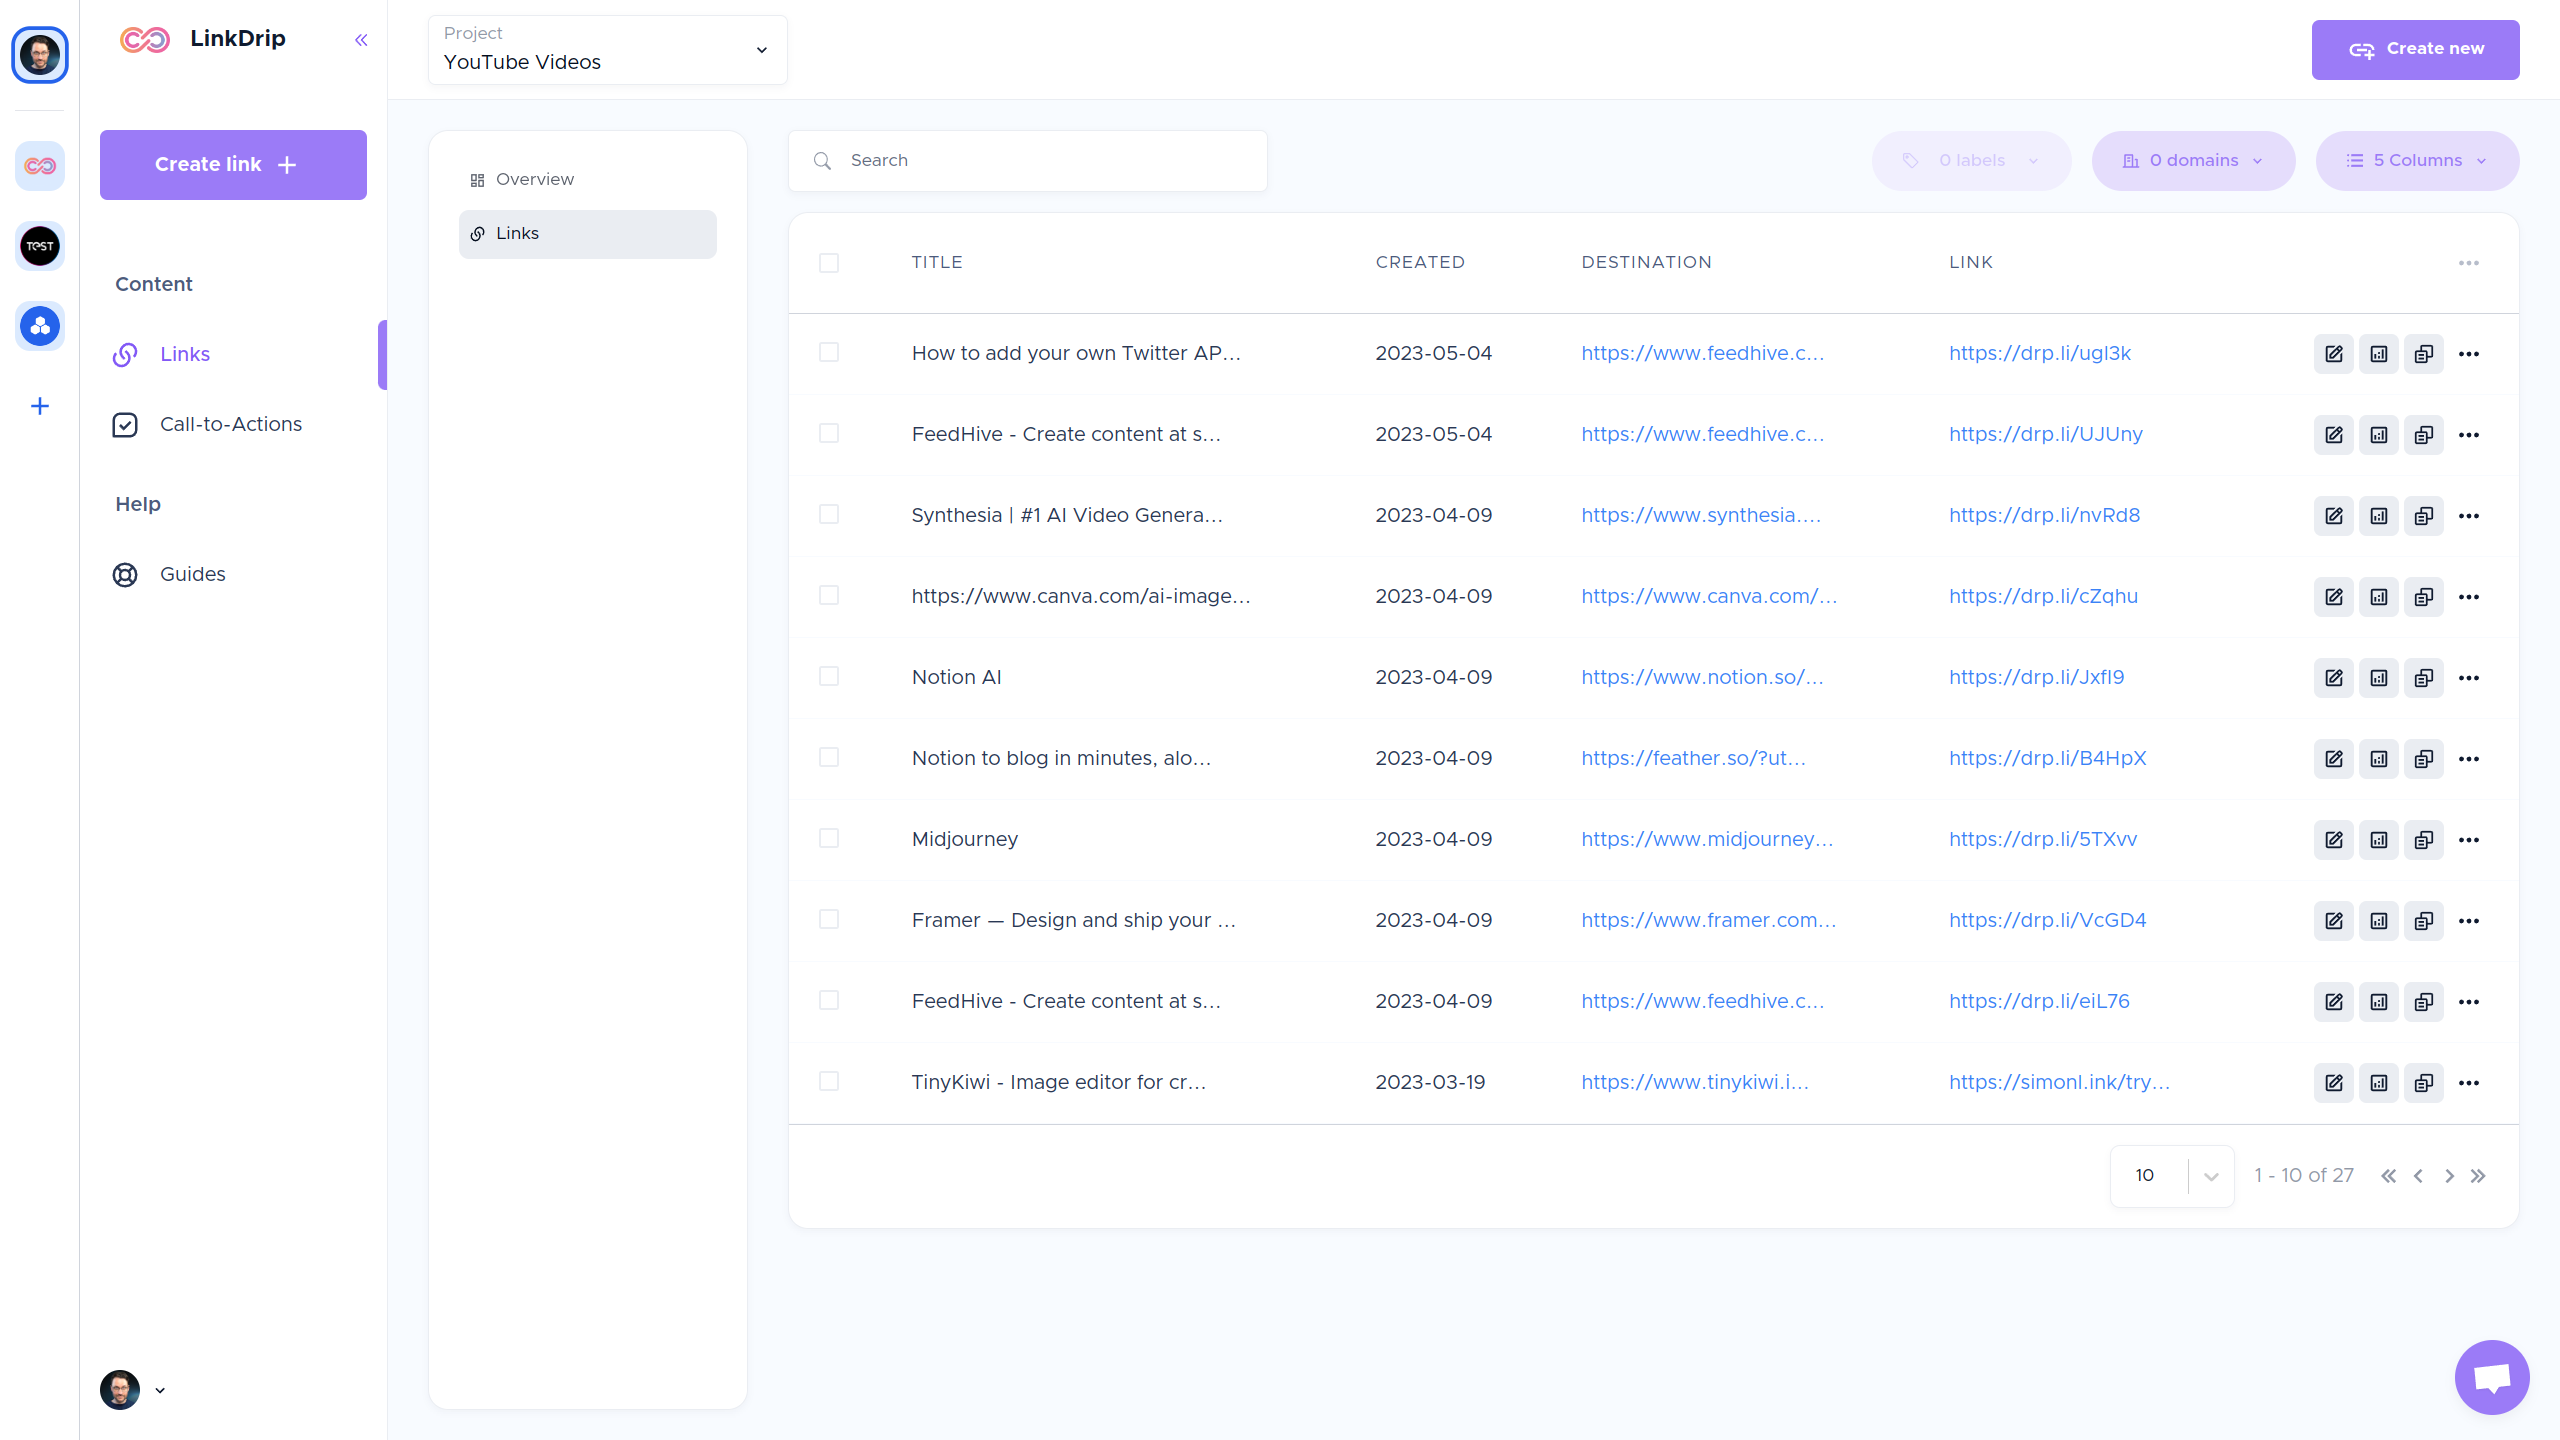
From here, you can access analytics for individual links, edit your links, and
more.
You can use filters to find specific links you're looking for.
LinkDrip analytics
For each
If you visit the analytics page, you will get a breakdown of all your links.
But
you can also see analytics for individual links, or from a group of links (e.g.
links in a specific project/folder).
You can set a date range, toggle between clicks and visits, and scroll down to specific details as you navigate the page.
Here are the metrics you can view on your Dashboard:
- Total engagements: Total number of clicks on your short links and visits.
- Links referrers: The webpages that sends visitors to your links.
- Top locations: The top countries generating clicks to your LinkDrip short links.
- Technology: The top device types generating clicks to your LinkDrip link traffic.
- Operating systems: The top operating systems used to generate clicks to your LinkDrip link traffic.
- Browsers: The top browsers used to generate clicks to your LinkDrip link traffic.
We got a lot of things coming up 🎉
This is only the beginning!
We have a
roadmap packed with amazing
features which we will be adding in the upcoming months.
Stay tuned 🚀
Table of Contents
Welcome here, Early Adopter 👋
You're here, because you signed up for LinkDrip's Early Access Deal!
We're
super happy to have you with us - in this article, we'll go through the very
basics of how to get started with LinkDrip.
How does a shortened link work?
With LinkDrip, you can take a long link (aka destination URL) like
this one:
https://youtu.be/06VUyvmHuoc
And shorten it to a link like this one:
https://drp.li/Duwir
When you create a link with LinkDrip, clicks on it are redirected from LinkDrip to the destination URL you started with.
How do I create links?
To create a link, simply click the "Create Link" button on the left side menu.

This will take you to the "Create new link" window where you can add information such as the destination, metadata, and UTM tags.
You can also preview how your link will look in the panel on the right side.
Once
you finished setting up your link, click on "Create".

Now you can copy and use your new shortened link.

When you create an account, your new links will be automatically added to a
default project.
You can create a new project by going to the "Links" page,
click the "Projects" navigation bar on the top and choose "New project"

You can also create your folders for your projects for better organization.

⭐ Pro tip: You can also reorder projects and folders, and you can move folders from one project to another by using drag-and-drop.
If you click on a project or folder that you created, it will show you a performance overview for all links in that project.

If you click "Links" in the submenu, you will see all the links in this project.

From here, you can access analytics for individual links, edit your links, and
more.
You can use filters to find specific links you're looking for.
LinkDrip analytics
For each
If you visit the analytics page, you will get a breakdown of all your links.
But
you can also see analytics for individual links, or from a group of links (e.g.
links in a specific project/folder).
You can set a date range, toggle between clicks and visits, and scroll down to specific details as you navigate the page.
Here are the metrics you can view on your Dashboard:
- Total engagements: Total number of clicks on your short links and visits.
- Links referrers: The webpages that sends visitors to your links.
- Top locations: The top countries generating clicks to your LinkDrip short links.
- Technology: The top device types generating clicks to your LinkDrip link traffic.
- Operating systems: The top operating systems used to generate clicks to your LinkDrip link traffic.
- Browsers: The top browsers used to generate clicks to your LinkDrip link traffic.
We got a lot of things coming up 🎉
This is only the beginning!
We have a
roadmap packed with amazing
features which we will be adding in the upcoming months.
Stay tuned 🚀


